Awesome Tips About How To Start Xps Viewer

What Is Xps Viewer And Do I Need It? (download/install/remove)
How To Install The Xps Viewer App View Or Oxps Files On Windows 10? - Office Onenote Gem Add-ins
Add Or Remove Xps Viewer App In Windows 10 | Tutorials
5 Ways To Open Xps Viewer In Windows 10
How To Install And Open Xps Viewer In Windows 10 | Password Recovery
How To Enable The Xps Viewer On Windows 10/11 - Technology In Our View
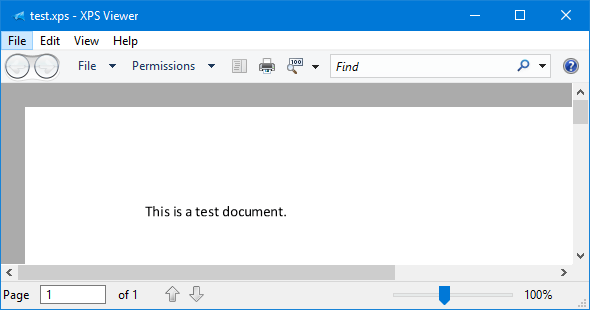
Install xps viewer in windows 10.
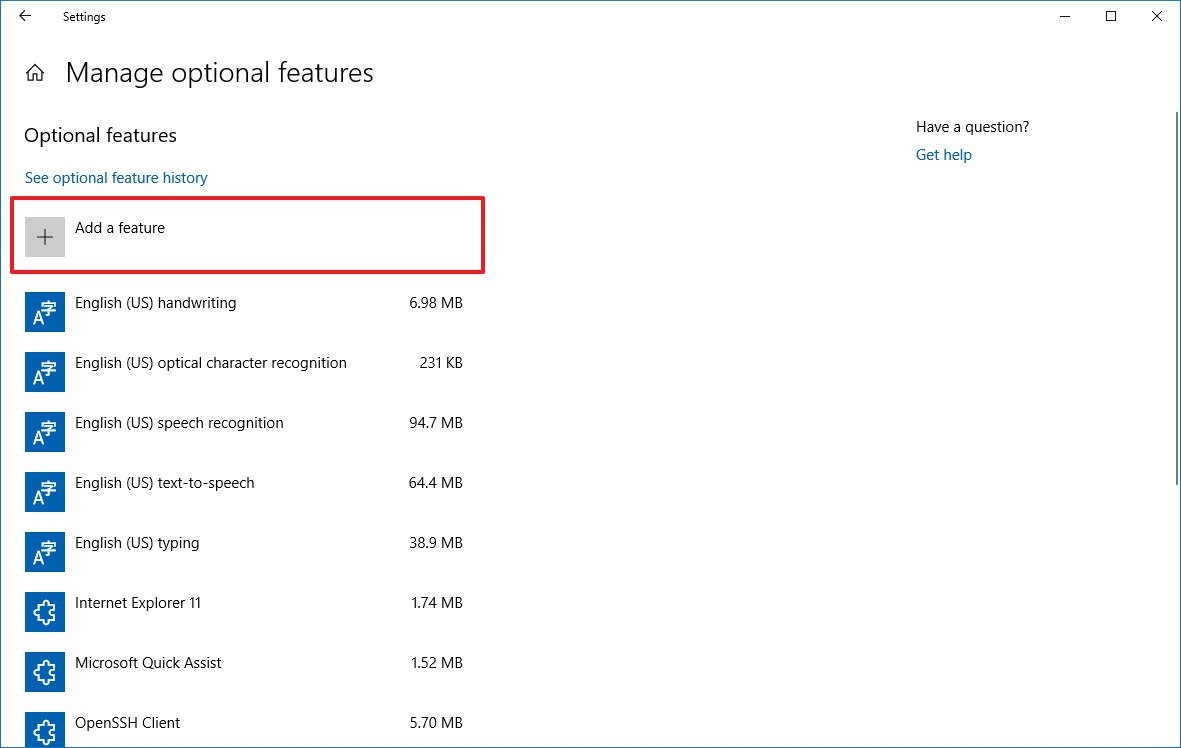
How to start xps viewer. Select the apps & features tab and click the “manage. The server manager will be opened automatically, if it doesn't open then you. Go to apps, and click the optional features link.
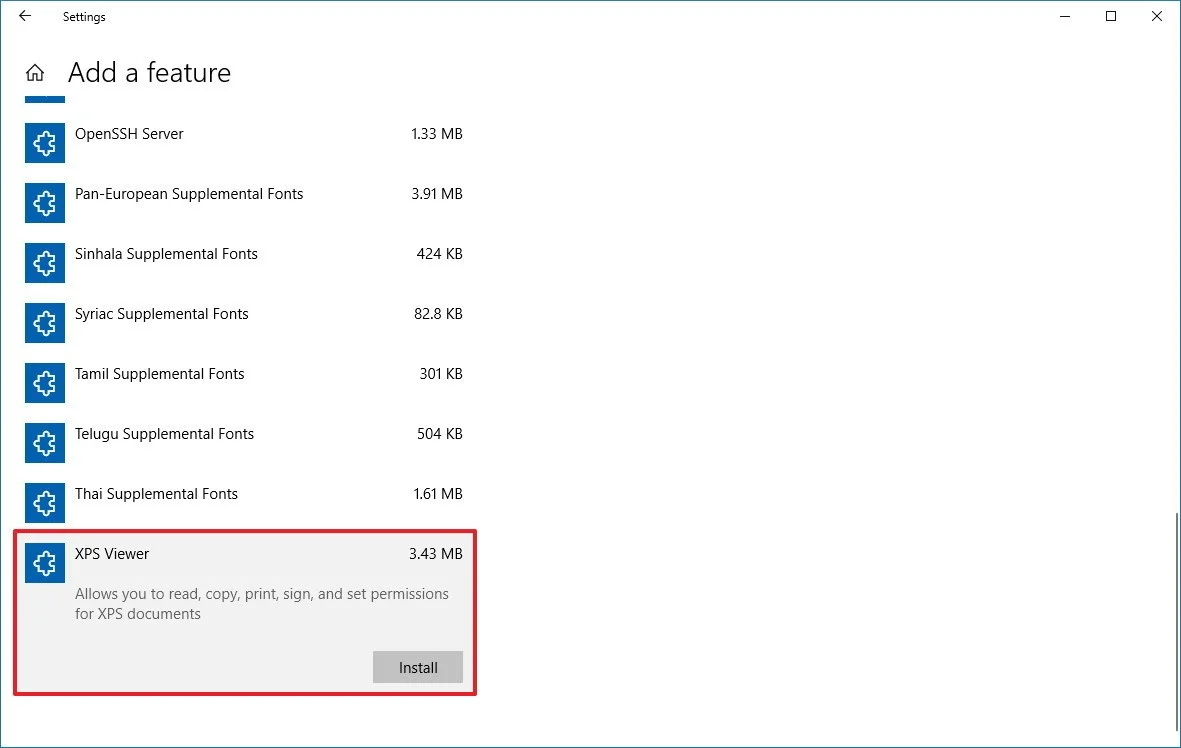
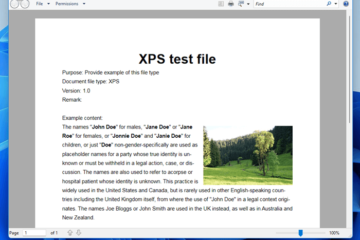
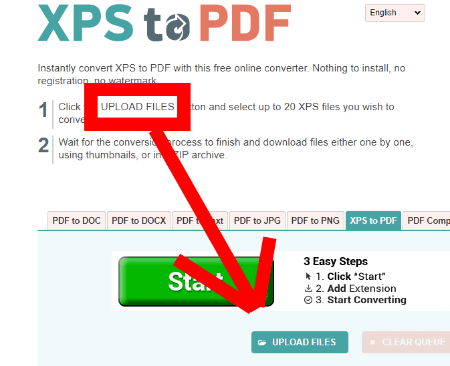
Select the xps file and wait for it to upload. Choose to add a feature. And now you can open xps files.
Enable xps viewer on windows 10 open the settings app. Install xps viewer app windows key+i > apps > apps & features > manage optional features > add a feature > xps viewer > install 2. Type start powershell in the command prompt window to start windows powershell.
Press the windows key + i to bring up the settings app, and then click apps. Click the new button and select file upload. Or hold the windows + i keys together to.
Click on it and click install. After installation restart your computer. Also reader app from microsoft.
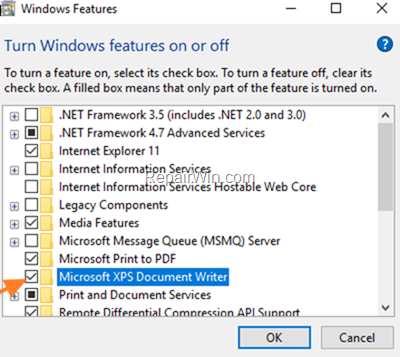
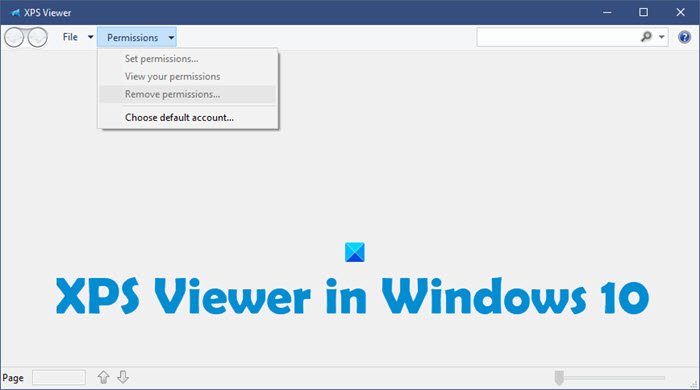
Windows server 2012 and higher: Type start powershell in the command prompt window to start windows powershell. To remove xps viewer, scroll down and click on xps viewer, and click uninstall.
Select xps viewer from the list. In the right panel, click the optional features under the apps & features 3. Usually, it’s at the bottom of the list.
Click on start > settings > apps. How to install xps viewer on windows 11. Follow the given steps to use xps viewer to open and view xps files in windows 11:
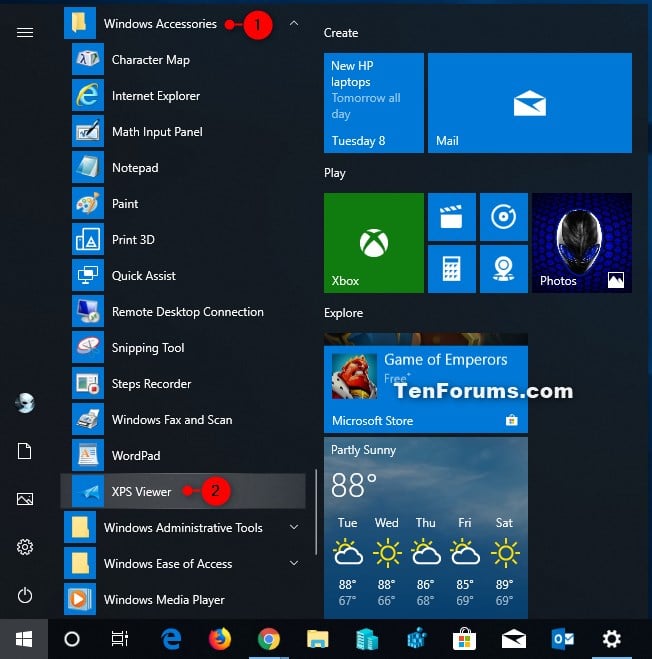
Click on the search icon and type xps viewer. How to view xps files in windows 11. 1 login to your windows server as an administrator.
How to install xps viewer in windows 11 [tutorial]this tutorial will show you how to add (install) or remove (uninstall) the xps viewer app for all users in. To get the xps viewer, first, go to ‘settings’ from the start menu.
How To Access Xps Viewer In The Windows 10 April 2018 Update | Central

3 Ways To Open Xps Files - Wikihow
/xps-files-5911c2f95f9b58647074915d.png)
What Is An Xps File? (and How To Open One)
How To Enable The Xps Viewer On Windows 10
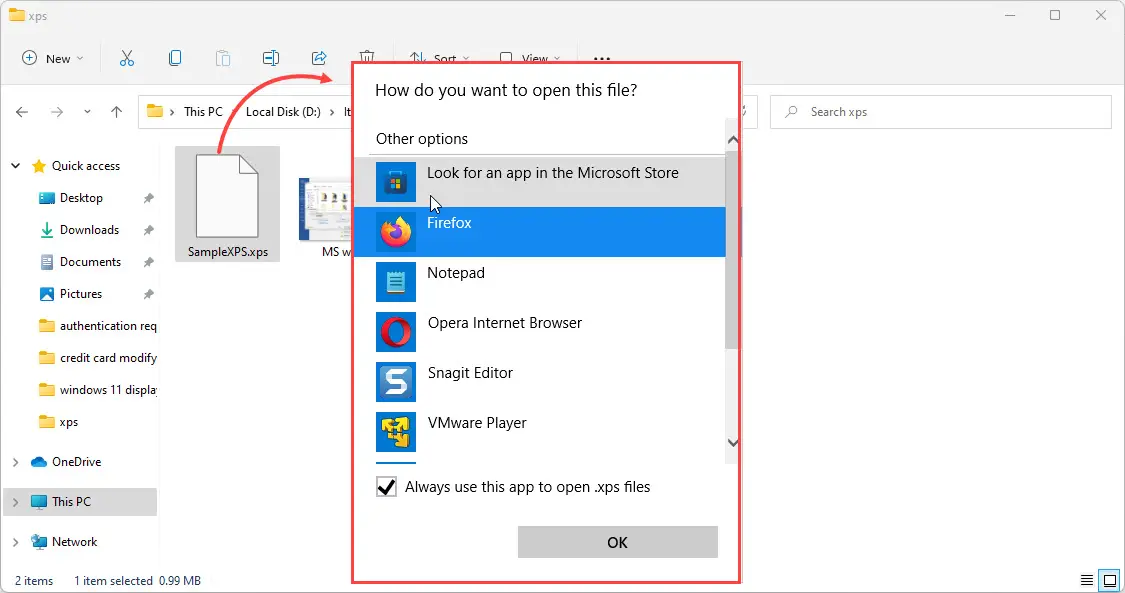
How To Open Xps File In Windows 11

3 Ways To Open Xps Files - Wikihow

3 Ways To Open Xps Files - Wikihow
What Is File Extension Xps And How To Open It - Technipages
The Xps Viewer In Windows 11/10
How To Add Or Remove Xps Viewer App In Windows 10 - Majorgeeks
How To Enable Xps Viewer On Windows 11/10

How To Open Xps Viewer In Windows - Youtube

Xps File Extension - What Is An .xps And How Do I Open It?